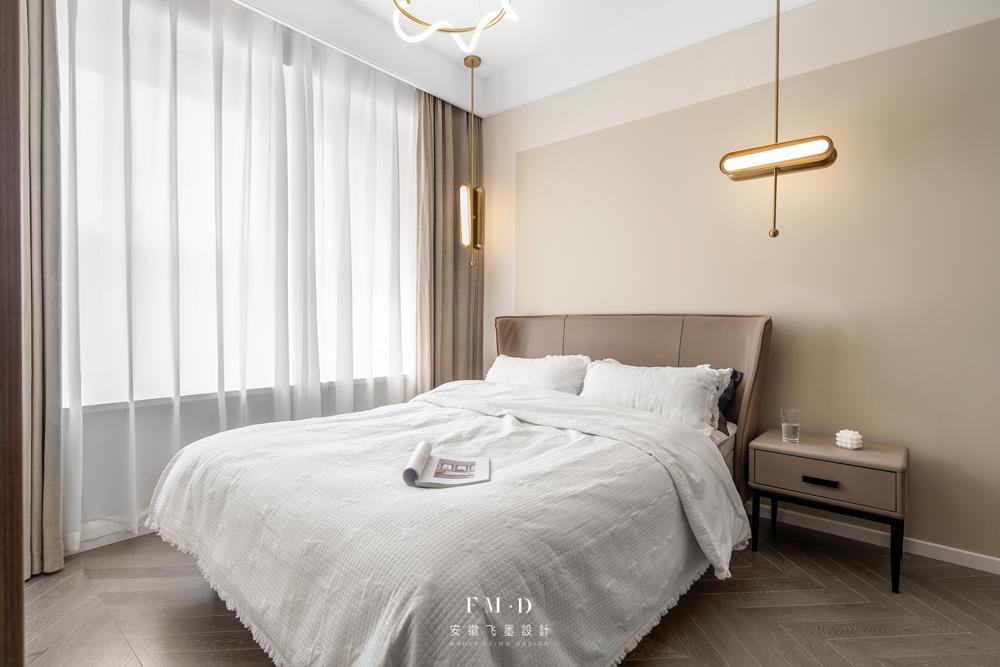
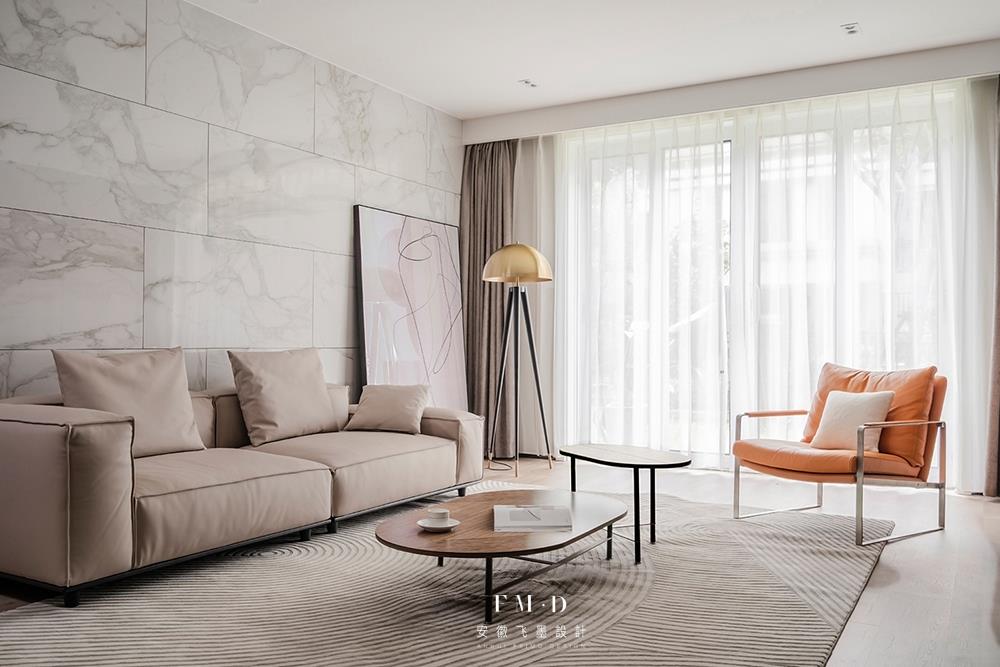
I have shared several articles about design and decoration experience not long ago. To make a long story short, today I will share some useful information about construction!

![]()
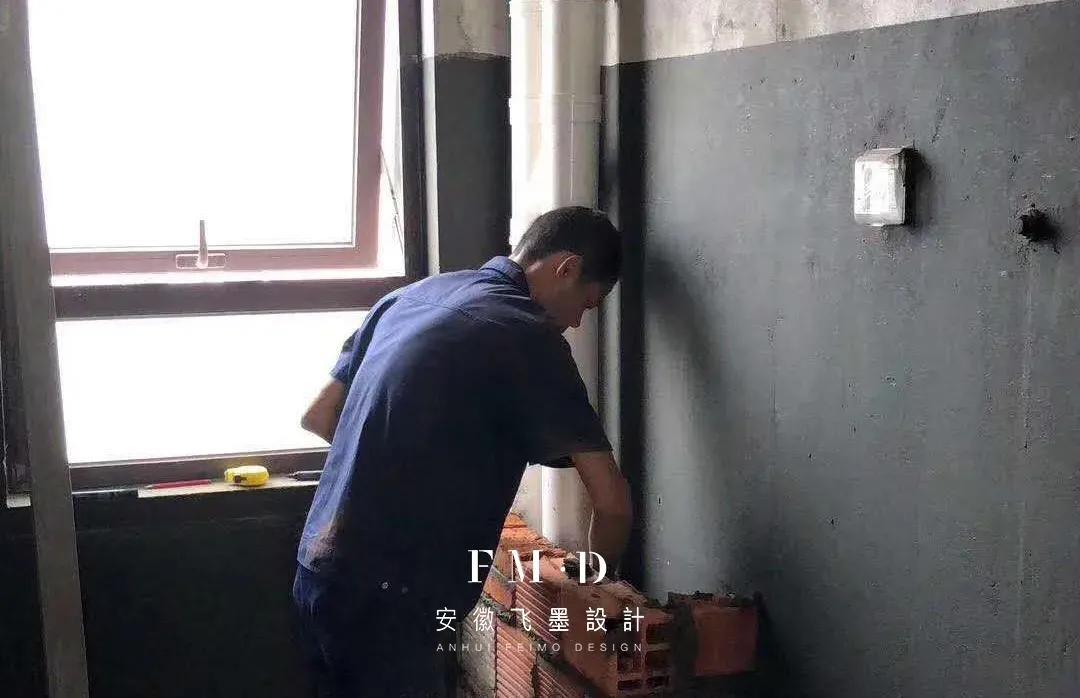
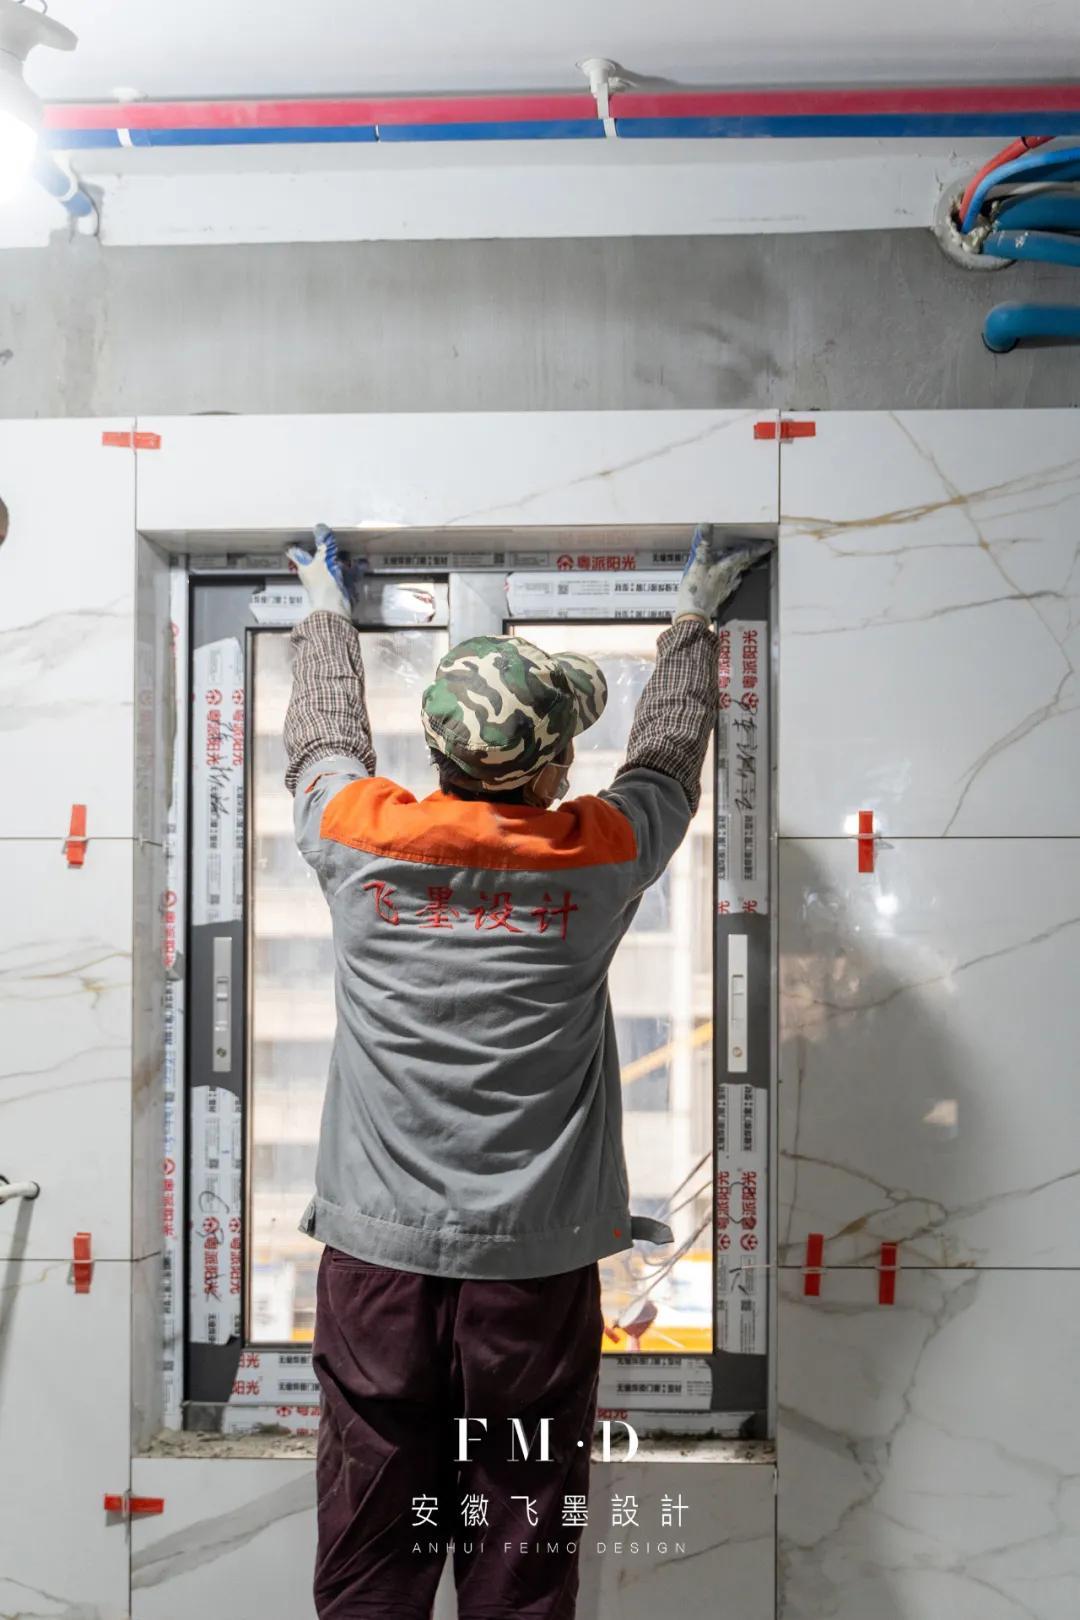
The first step of construction is to dismantle the original wall and build a new one .
1. There are three main aspects of demolition: wall demolition of new houses, demolition of old houses, and demolition of finely decorated houses.
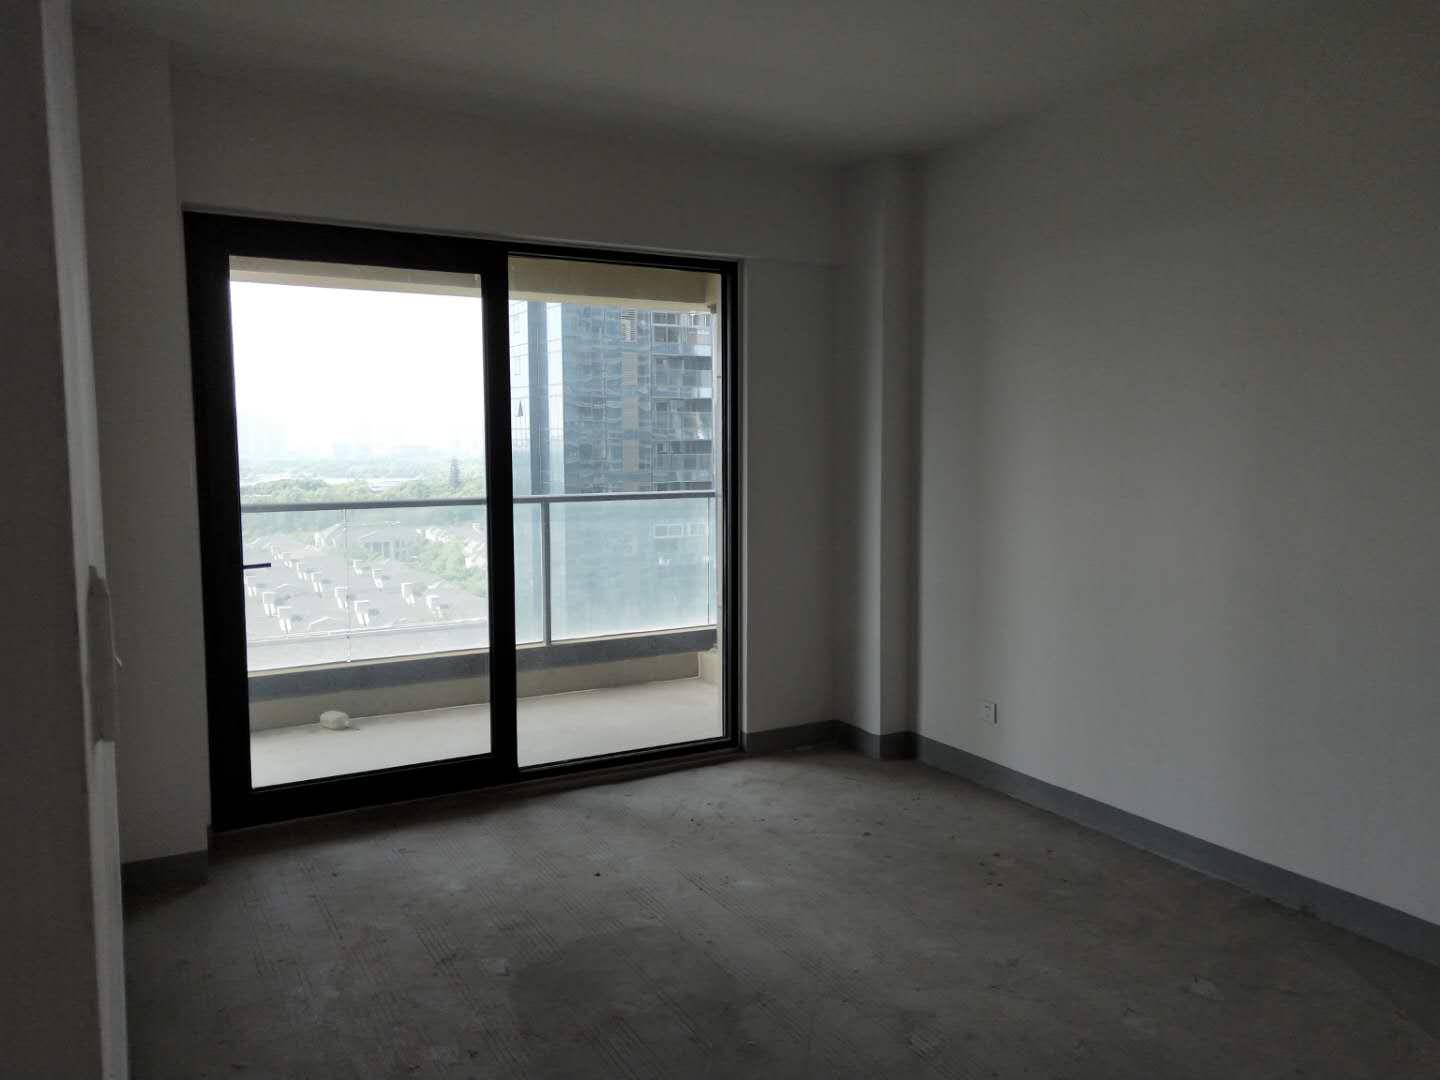
![]()
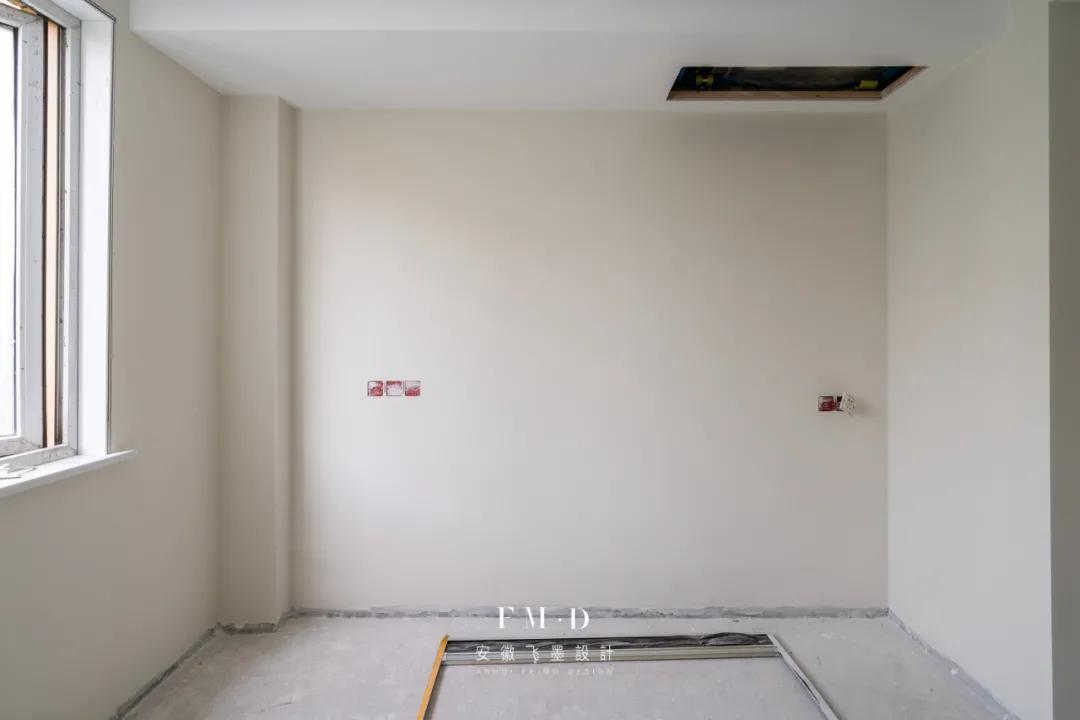
△Rough House
2. The demolition of the rough house mainly considers the design and transformation requirements, and the walls need to be demolished.
3. Note: Only non-load-bearing walls can be demolished, including load-bearing walls, load-bearing columns, beams, cast-in-place surfaces, etc. It cannot be dismantled.
4. Dismantling process: positioning → cutting along the line → dismantling → bagging and transportation → organizing the site.
5. In addition, if there are problems with the base layer, such as sand falling off the wall, the wall can be shoveled.
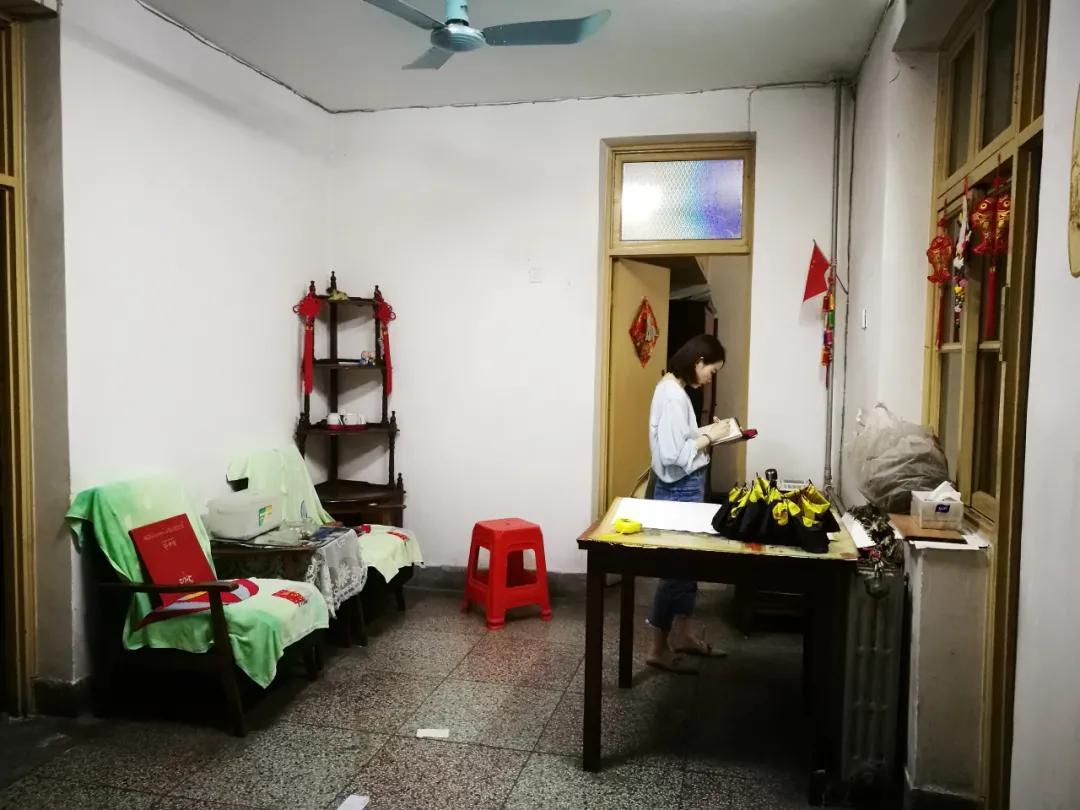
![]()
△Second-hand house
6. There are more things to consider when demolishing a second-hand house, mainly removing walls, replacing water pipes and wires, and removing existing wall top decorations. (The cost will be relatively higher. High)
7. Many old houses that have been built for a long time are difficult to distinguish whether they are load-bearing walls. It is recommended to dismantle them according to the advice of professionals rather than blindly dismantle them yourself.
![]()
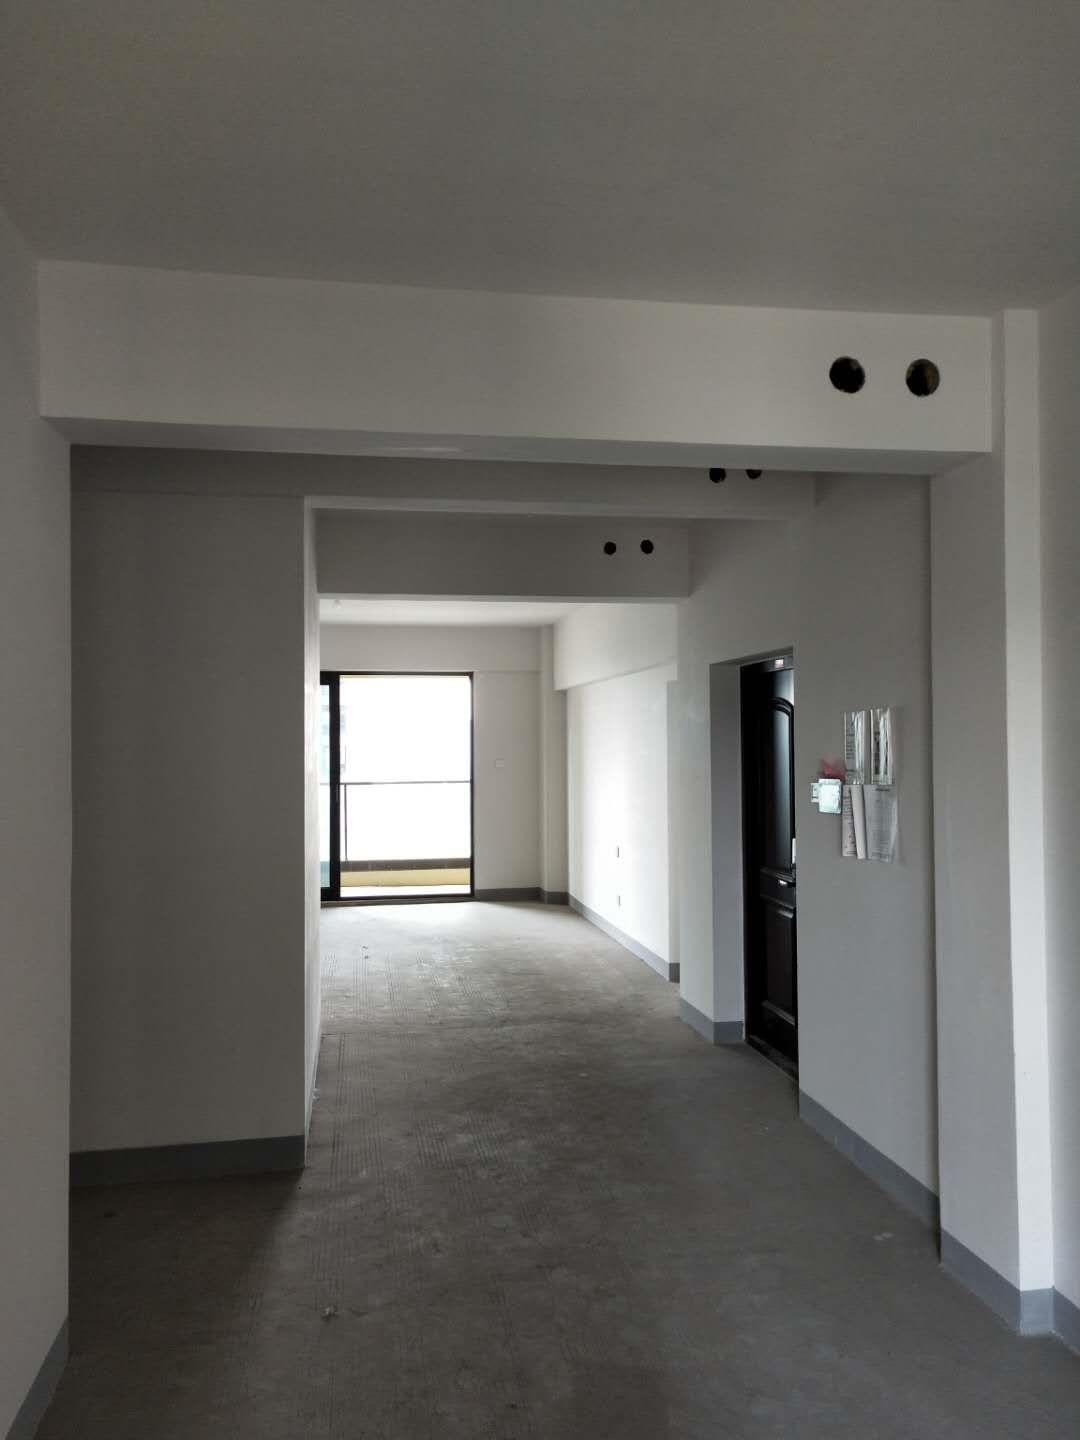
8. If they are load-bearing walls, they must not be demolished
9. For some intact walls that you want to keep, you can check the condition of the wall to decide whether to keep it; if the problem is not major, you can consider removing the paint layer and repainting it.
10. If the wall is old and the problem is serious, it can be removed until the red bricks are exposed and then repainted with cement.
![]()
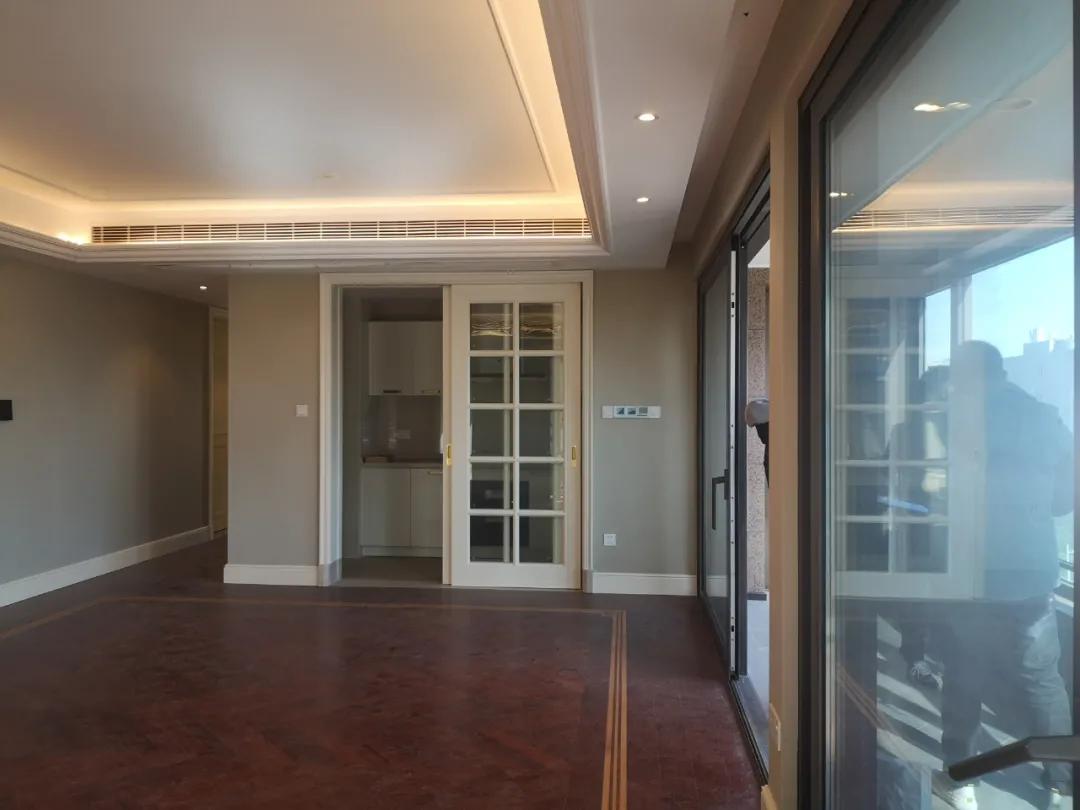
△Finely decorated room
11. Regarding the finely decorated houses, there are no major problems with the quality of many decorations, but they are… an eyesore; you can partially dismantle and renovate them according to your own preferences, or completely dismantle them.
12. If you are not satisfied with the door body, you can consider removing the door body and door cover separately.
![]()
13. After everything is dismantled and the site is cleaned, the wall can be The body was newly built.
14. Wall construction process: positioning → foundation beam → moistening bricks → planting reinforcement → building wall → capping → hanging net and painting → cleaning → maintenance.
15. There are three common materials for masonry walls: air-entrained block walls, red brick walls, and hollow brick walls; Choose based on actual design.
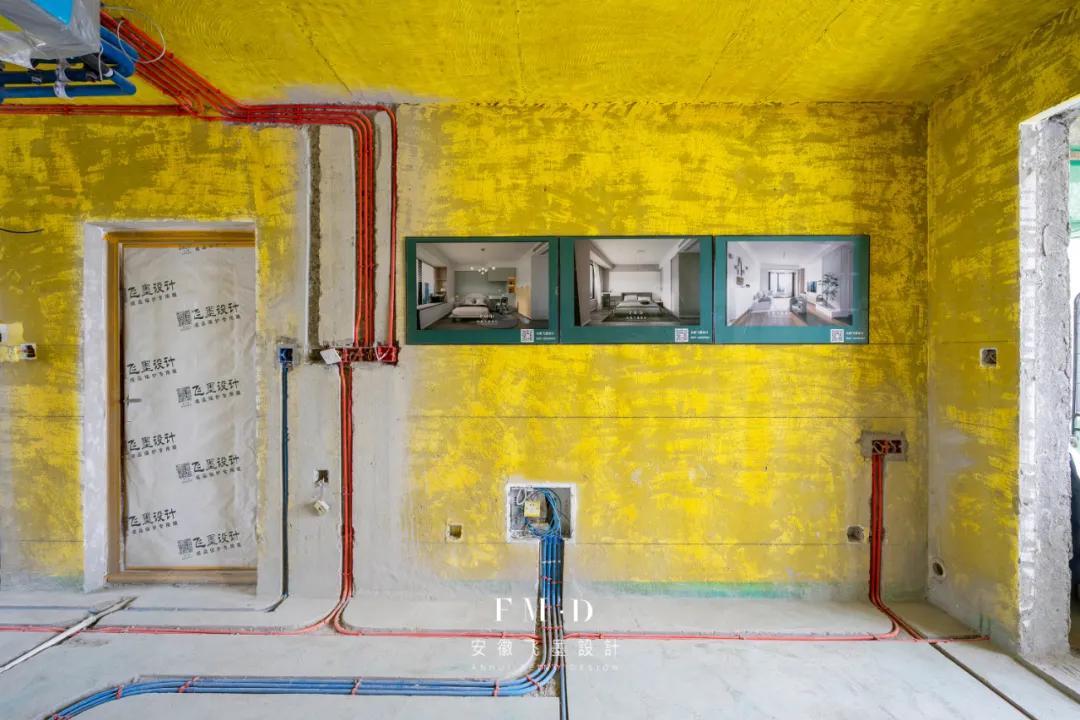
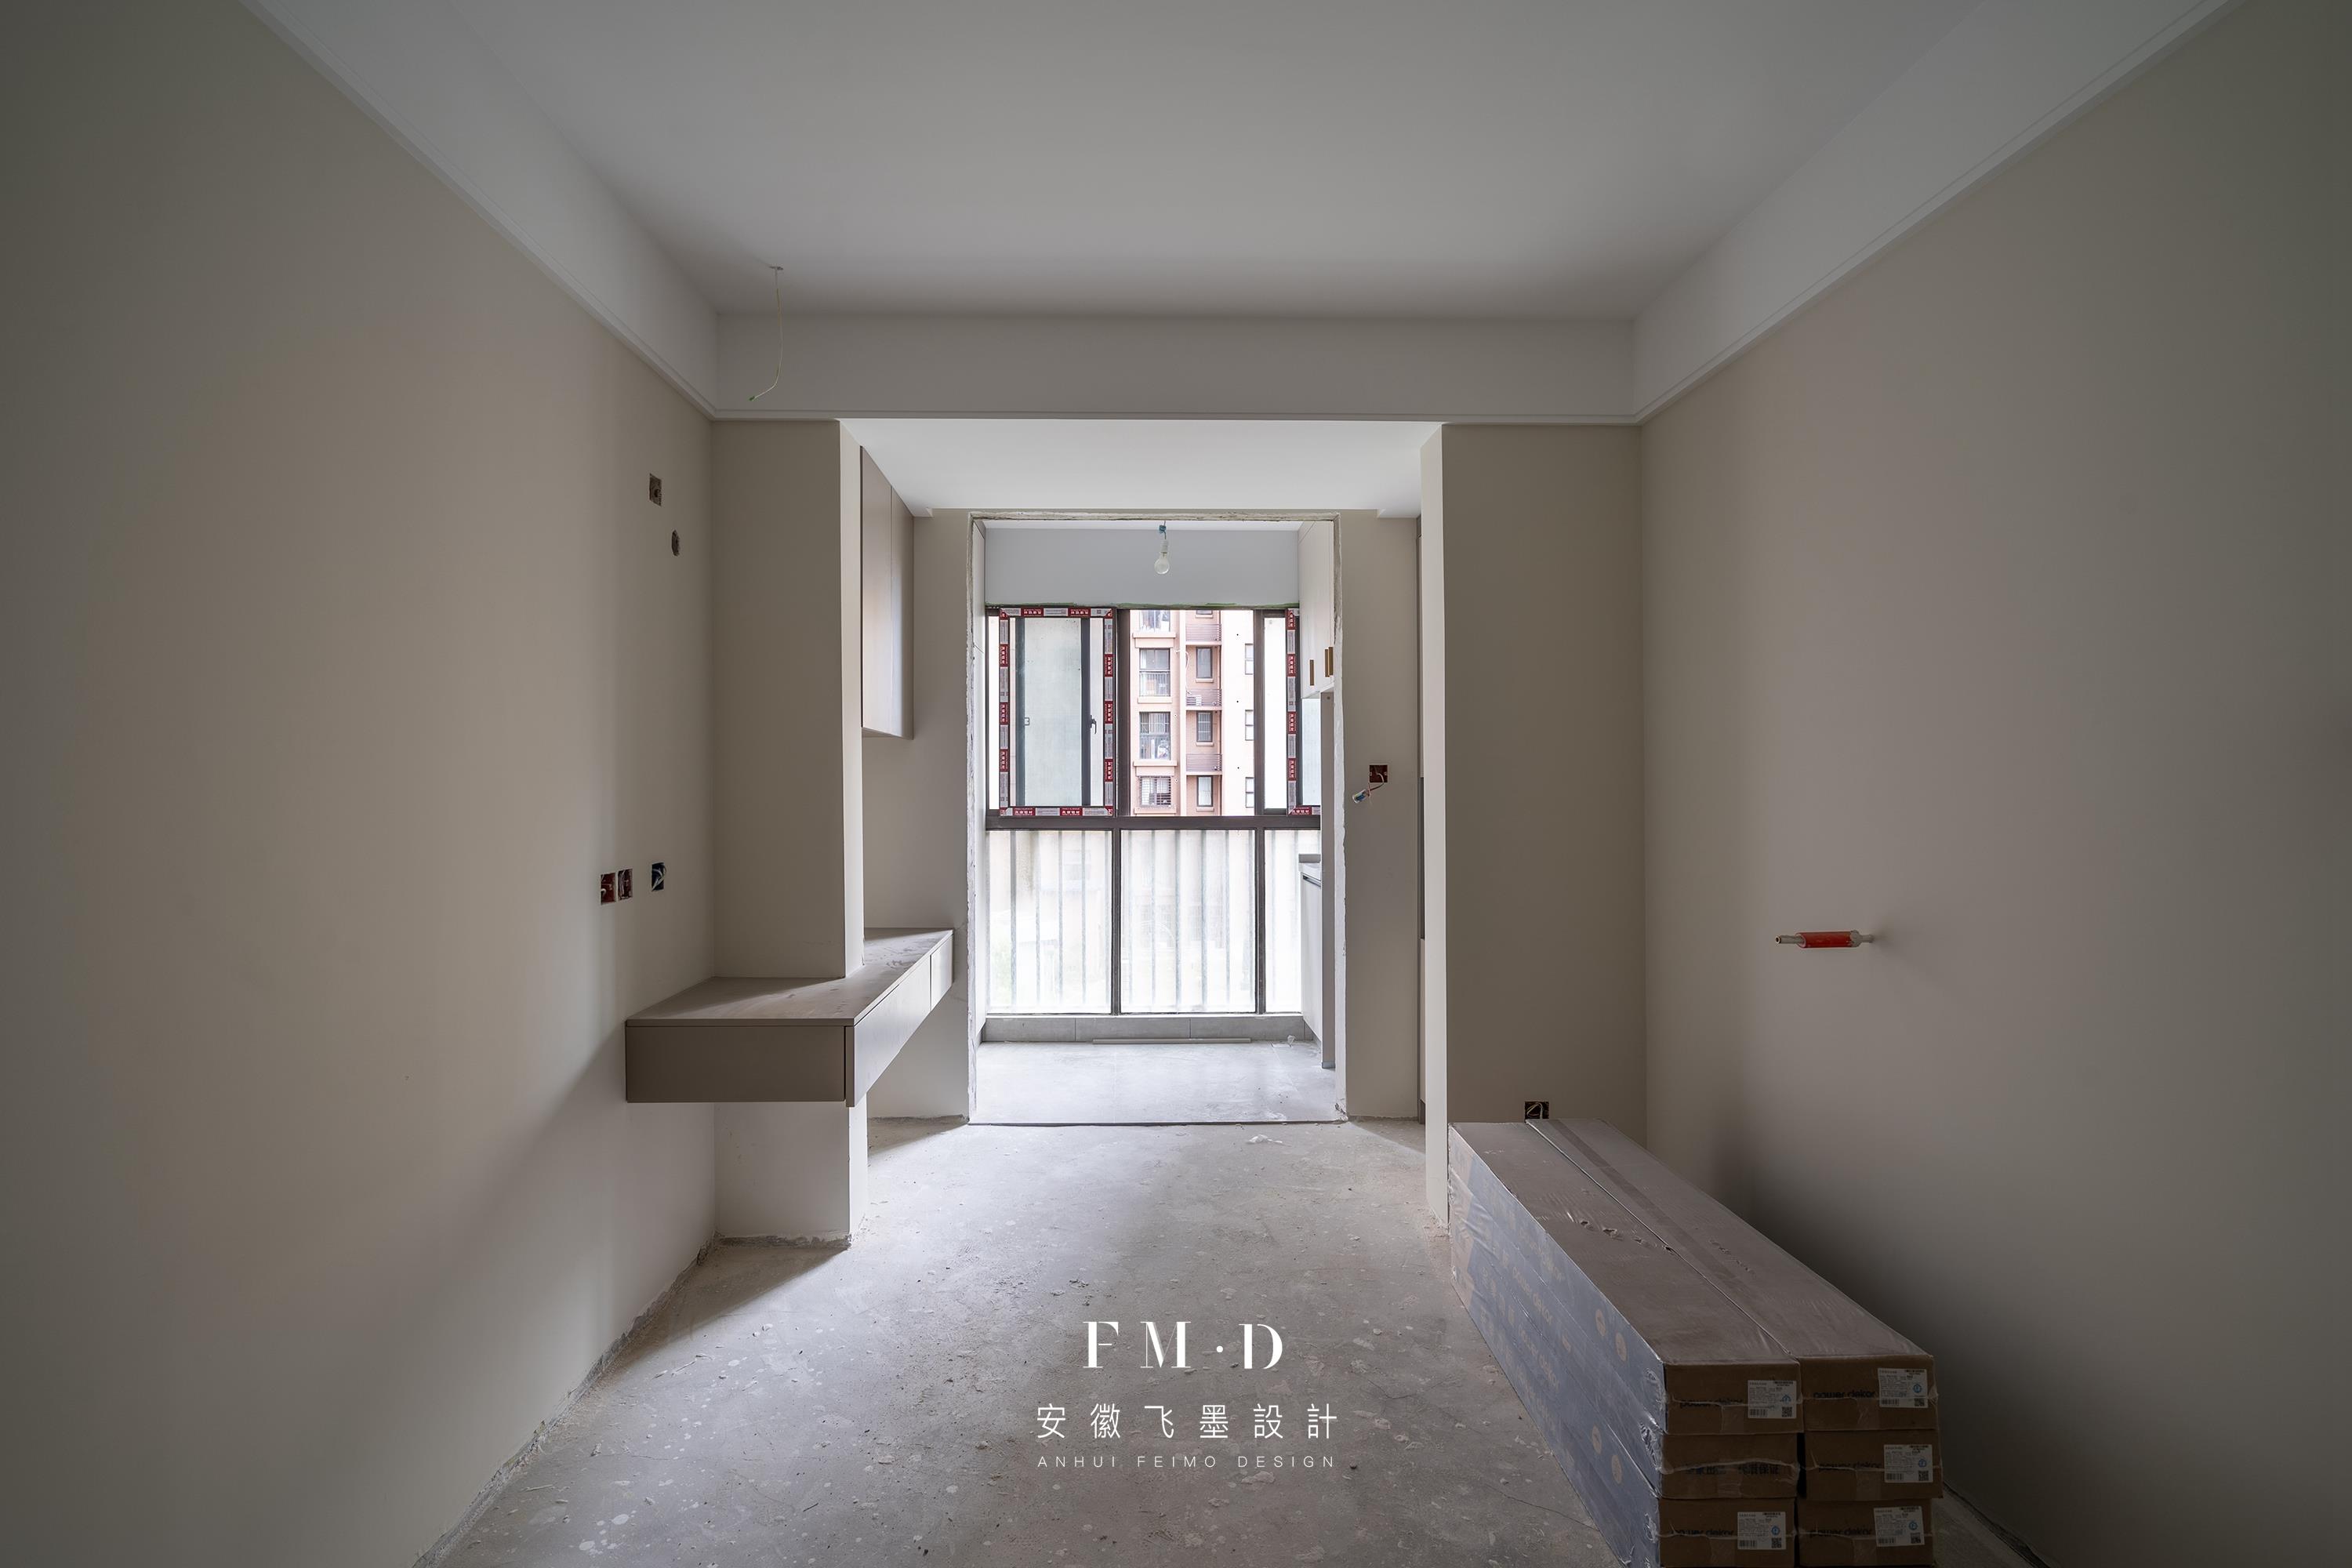
After the wall demolition and modification is completed, it is time to modify the water and electricity, mainly to modify the hot and cold water, strong and weak electricity in the home.

![]()
16. Before water and electricity renovation, you must first confirm that all electrical appliances, switches and sockets in the home are Accurate location and power; confirm all faucets, water heaters, water purification systems, water supply and drainage plans in the home.
17. The general process of hydropower construction: hydropower disclosure → hydropower estimation → material arrival → wiring and slotting → strong and weak electricity Pipe laying → water supply and drainage pipe laying → strong electric box arrangement → on-site cleaning.
![]()
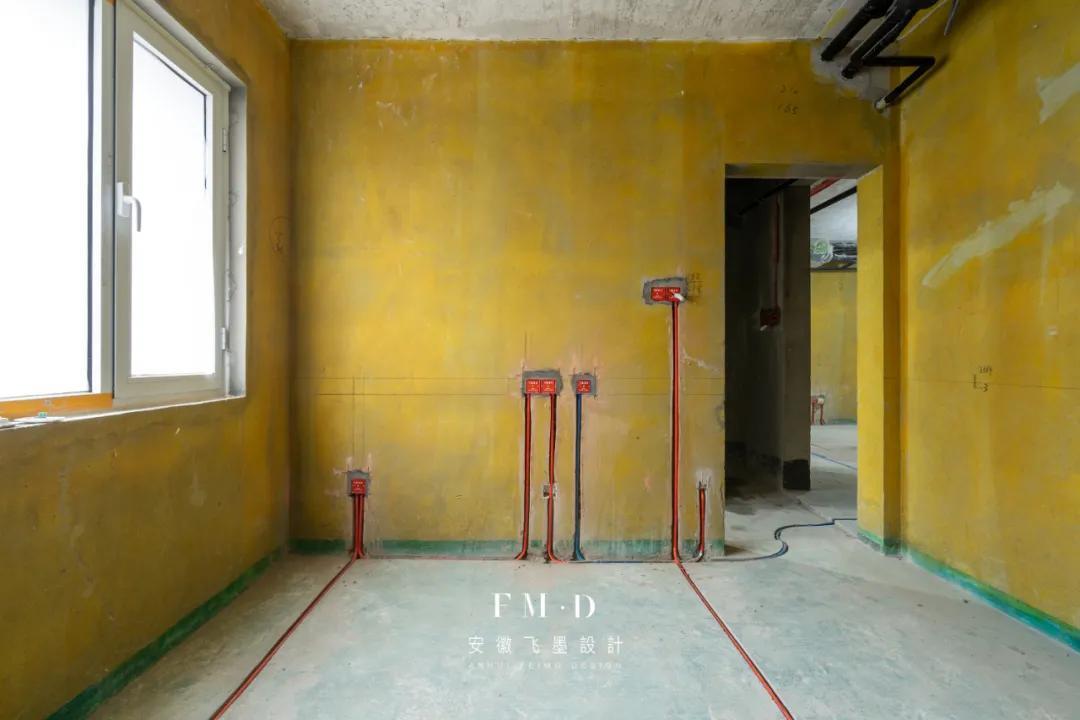
18. The construction of strong and weak electricity mainly consists of two parts: laying out wires and grooving, and laying pipes.
19. The slot width is equal to the pipe diameter + the pipe clamp gap + the 1cm reserved gap on both sides, and the slot depth is equal to the pipe diameter plus 1~1.5cm.
20. Grooving requires horizontal and vertical dimensions, consistent depth, and a turning radius of 20-30cm.
21. After grooving, clean it up; pay attention to whether there are any cracks caused by grooving. If there are any, they need to be repaired. Powder supplement.
![]()
22. After the slotting process is completed, embed the wire box first; pay attention to the same The room switch is 1.4m from the ground and 10-20cm from the door cover line. The socket is 30cm from the ground. When the upper and lower sockets are installed side by side, the height difference is less than 0.5mm.
23. One thing that must be paid attention to is the location of switches and sockets. They must not be blocked; therefore, the furniture needs to be confirmed in advance. Specific size and location of appliances.
24. All wires entering the wall should be made of PVC flame-retardant pipes above ¢16, and the cross-section of the power cord should not be larger than the pipe diameter 40 %;

![]()
25. Principle of water supply pipe layout: The layout direction should follow \”can go to the top but not to the ground, can go vertically but not horizontally\”
26. Water pipes must be laid horizontally and straight. Except for bridges, water diversions, and elbows, there must be no joints within 4m of straight lines; the connecting accessories must be installed firmly and without leakage.
![]()
27. The cold and hot water outlets must be horizontal, with hot water on the left and cold water on the right.
28. It is recommended to reinstall the indoor main valve when water enters the room. Remember to check the valve and connecting accessories for damage and blisters before installation. , cracks and other phenomena
29. The general depth of water pipe grooves is pipe diameter + 15mm. Special pipe clamps must be used. The distance between pipe clamps is ≤1000mm, and hot and cold water cannot be in the same slot.
![]()
30. Of course, water and electricity cannot be in the same tank. If water and electricity cross, the water pipe is at the bottom and the electric pipe is at the top.
Next, let’s take a look at the practical aspects of bricklaying construction
31. The main work of a bricklayer is: laying wall tiles, waterproofing projects, and floor tile construction.
32. Bricklaying project construction process: including pipe construction → wall base treatment → painting the wall waterproof → laying wall tiles → painting the floor waterproof → closed water test → laying floor tiles → cleaning and protection .
![]()
33. Before laying wall tiles, check whether the base layer of the wall is empty. Drum, check the flatness, squareness, error and other problems of the wall; if there are any problems, deal with them first before construction.
34. When laying wall tiles, first clean the dust and oil and wax behind the tiles. After cleaning, apply adhesive (all wall tiles except floor tiles need to be coated with adhesive)
![]()
35. Before laying wall tiles, remember to pre-layout and confirm that the style and size are correct.
36. For pasting mortar, use 1:2.5 cement mortar or tile adhesive, and the thickness is recommended to be 6-10mm.
37. Wall tiles should be laid from bottom to top and pasted in layers. They should not be pasted to the top at once to prevent collapse.
![]()
38. Waterproof construction, mainly for wet areas such as bathrooms, kitchens, and balconies .
39. Before making the ground waterproofing, the threshold stone must be laid first, and both sides of the threshold stone should be sealed with leak-proof sealing tools. .
40. It is advisable to apply waterproof coating 2-3 times. Each coat should be applied vertically and horizontally; do not miss the application!

![]()
41. There are two construction methods for floor tiles, dry laying and wet laying.
42. Dry laying. The paving effect is good and the hollowing rate is low; the wet paving price is low, but hollowing is easy to occur.
43. Choose dry paving. The base mortar should be dry hard cement slurry of 1:3, and the thickness should be about 20mm.
![]()
In addition to paying attention to flatness during construction, we should also pay attention to aesthetics when constructing colored bricks , must be pre-typesetting.
Carpentry construction is also a very important part of hard decoration construction.
44. The main contents of carpentry construction include: ceiling construction, wall wood base construction, and door panel wiring construction.
![]()
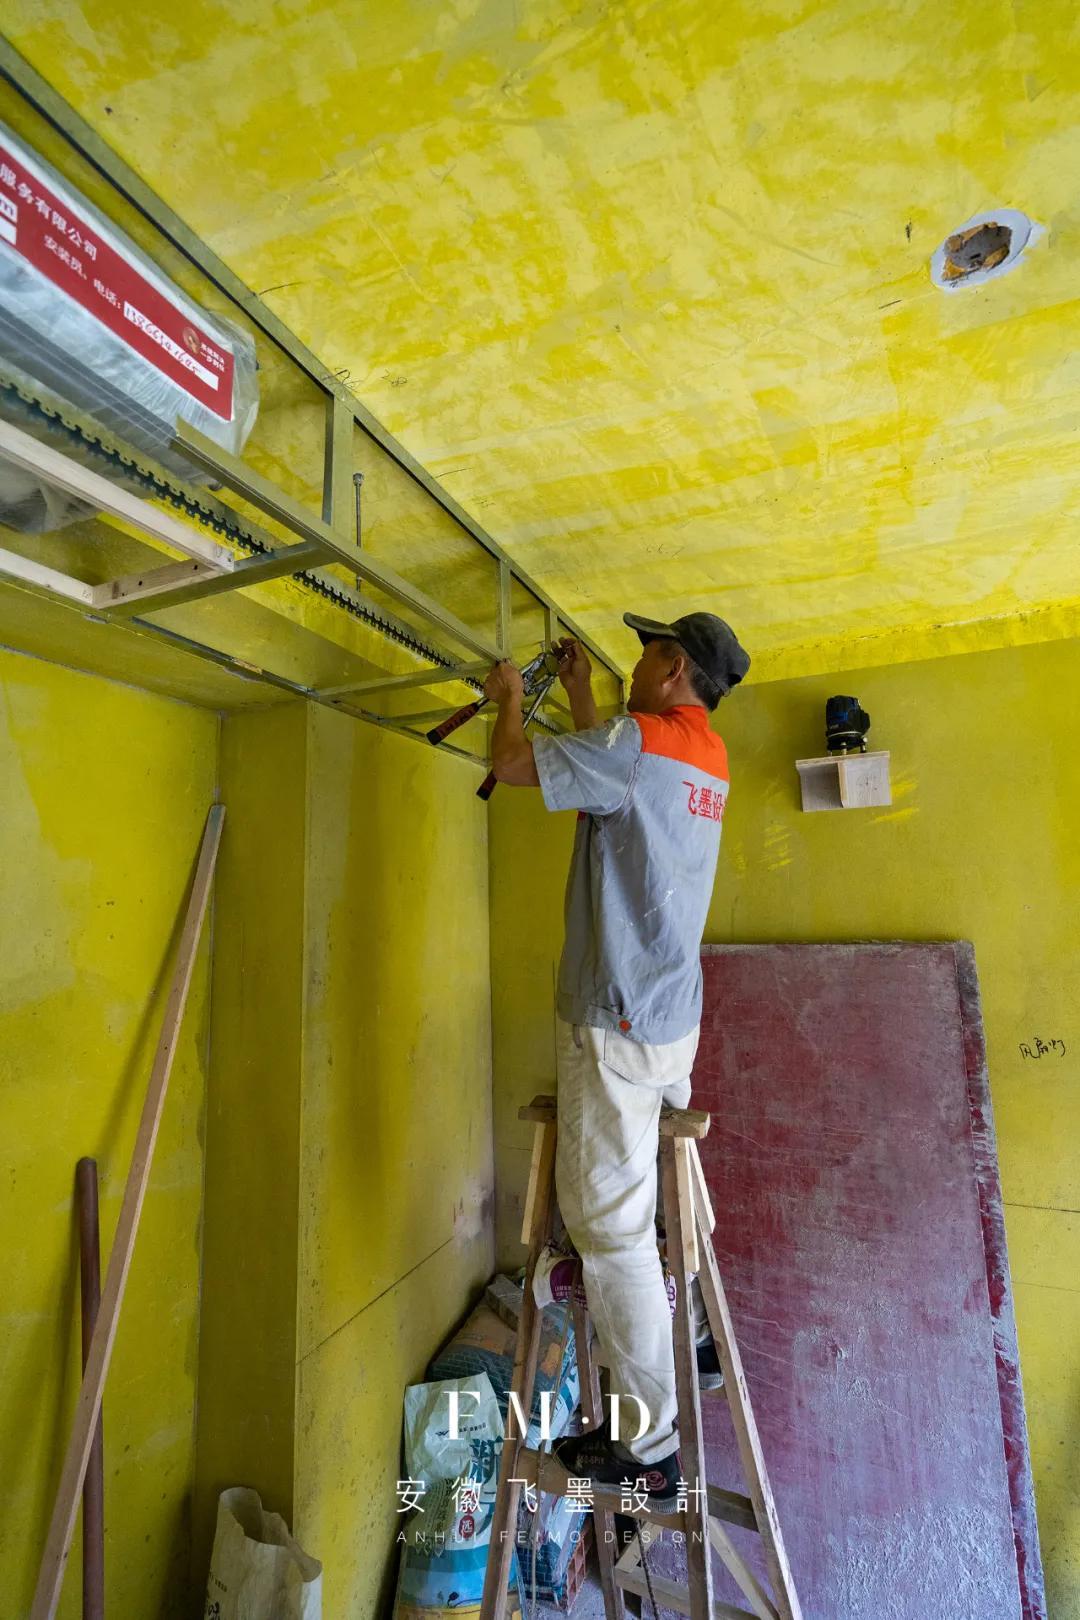
45. Ceiling construction process: laying out wires → drilling → installing suspenders → installing keels → making curtain boxes → making air vents → concealed acceptance of keels → installing gypsum boards
46. There are three methods of suspended ceiling: full suspended ceiling, partial suspended ceiling, and suspended flat ceiling.
![]()
47. The full suspended ceiling occupies about 35cm of floor height, suitable for high floor heights Partially suspended ceilings are only placed on the edge of the house, which is suitable for most houses; suspended flat ceilings account for about 5-10cm of floor height, which is suitable for low-floor house designs.
48. You can choose light steel keels or wooden keels for suspended ceiling keels; light steel keels are more durable, and wooden keels can make the ceiling thinner. You can choose according to your needs.
49. When installing ceiling gypsum boards, pay attention to using L-shaped or T-shaped gypsum board transitions in the corner areas.
![]()
50. Wall wood base construction: lay out holes → install base keels → make base frame and adjust level → install decorative panels
51. Door panel construction process: Preparing materials and cutting panels → Selecting decorative panels → Pressing → Edge collection → Edge sealing → Clean edges → Door installation → Installation and debugging.
52. The wiring construction process: punch the wooden wedge → cut the board → moisture-proof treatment → install the base board → install the wiring → close the edges.
Making wood base or door panels on site is not something that every household can do during decoration. Please refer to it as needed.
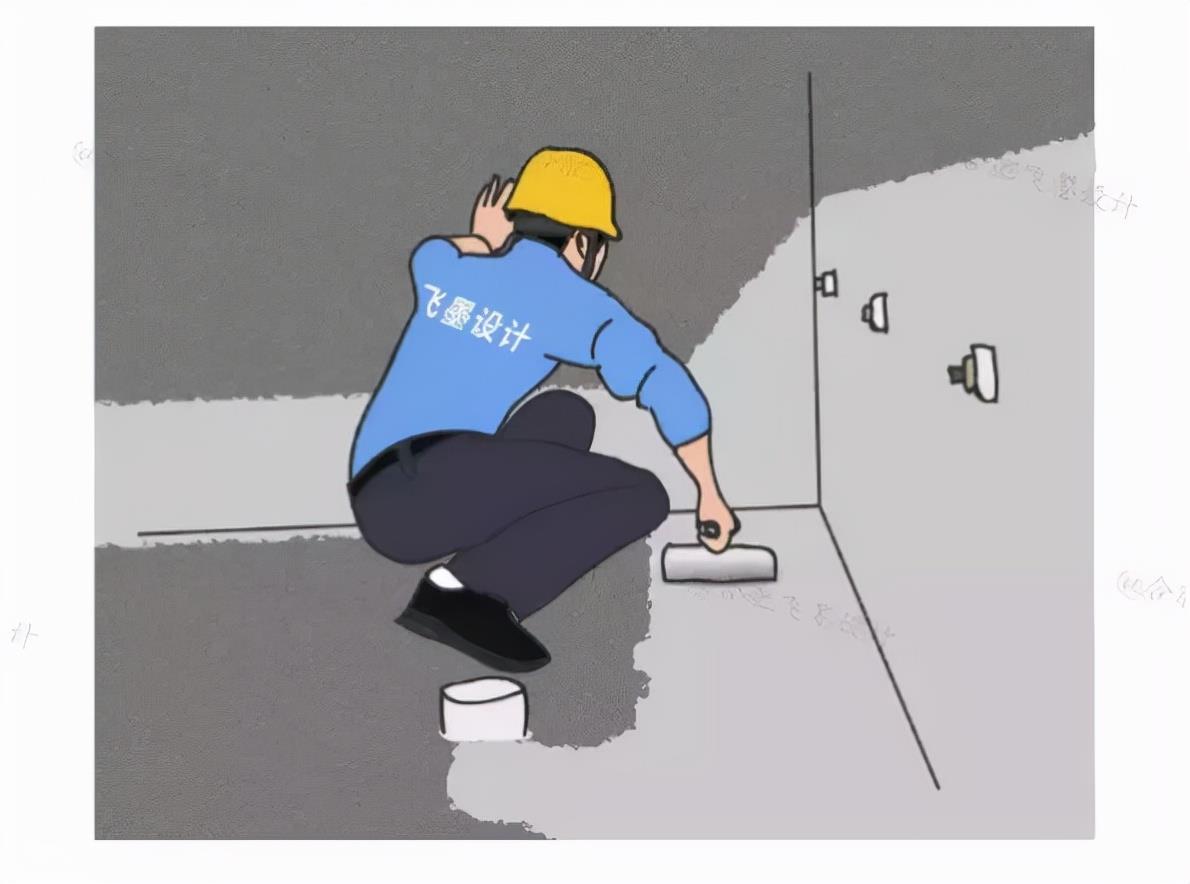
Finally, it’s the paint job that determines the overall appearance of the home.
![]()
52. Latex paint construction process: wall inspection → brush interface agent → base layer Leveling→hanging mesh cloth→scraping putty→sanding→applying primer→applying topcoat
53. Before construction, check whether there are any problems with the base layer of the wall. If there are any problems, deal with them first. In serious cases, the wall should be shoveled and the base layer rebuilt.
![]()
54. If there is no problem or the problem has been solved, clean the wall and paint it first A layer of interface agent to improve the solidity of the wall.
55. Then, perform thick leveling, and use an aluminum alloy ruler of no less than 2m to straighten the external angle twice on both sides. Finish. For the inner corner pull-through line, use the highest point to stretch the line, and use leveling putty to level it according to the line; local areas with an error exceeding 8mm will be leveled in stages.

![]()
56. After the base layer treatment is completed, flatten the mesh cloth on the plaster. , the paving should be smooth, no omissions can be allowed, and the mesh must be hung all over the wall. There should be an overlap of 100mm at the intersection of the mesh cloth.
![]()
57. After the plaster is completely dry, apply a full batch of putty twice. After the first putty is fully dry, you can slightly polish the wall. Because the second putty is thinner, the wall needs to be corrected in advance to make it smooth. Degree.
58. After the puttying is completed, use 360–600# sandpaper to polish the wall until it is smooth.
![]()
59. The last step is to apply the primer and topcoat. One coat of primer and two coats of topcoat. Paint all over.
60. Note that painting construction cannot be carried out on rainy days.
![]()
Construction determines the quality of the overall decoration and is the most important part of the decoration. Don’t be careless!
(ps: Some pictures come from the Internet. If there is any infringement, please contact us to delete!)
Feimo Design | Feimo Design 1 A lifestyle choice
本站内容及图片来自网络,版权归原作者所有,内容仅供读者参考,不承担相关法律责任,如有侵犯请联系我们:609448834